20/01/2017

Another building for another RR

This time a wood kit for a HOn3 RR

     Peter is building a really nice HOn3 layout in a purpose built building based on the narrow gauge lines of the Rio Grand.
     His scenery is impressive to say the least along with his attention to detail so when he asked if I would assemble a kit for him I must admit I was a little surprised and honored at the same time.
     The kit is a Commercial Coal House manufactured by Crystal River Products with a LOT of individual pieces of strip-wood.
     The instructions are numerous and at first glance this kit looked a bit onerous. Several looks through the list of tasks and I started to understand what was needed.
     First stain all the wood different colours so it looks natural. This is did using 4 colours from my Vallejo air brush paints in a mix of alcohol making sure that I kept each bundle together so each section did not get mixed. Remember there is a LOT of sticks.
    That done and with the sticks dry it was time to work out how the jigs went together. These are very well made and allow for ease of assembly one for each wall once mastered.

    So to cut a long story short here are the pics from this build.

The rear wall

Rear wall with doors installed

Front wall in process

Front wall complete with doors and sliding door track

Side walls

Walls added and flooring installed

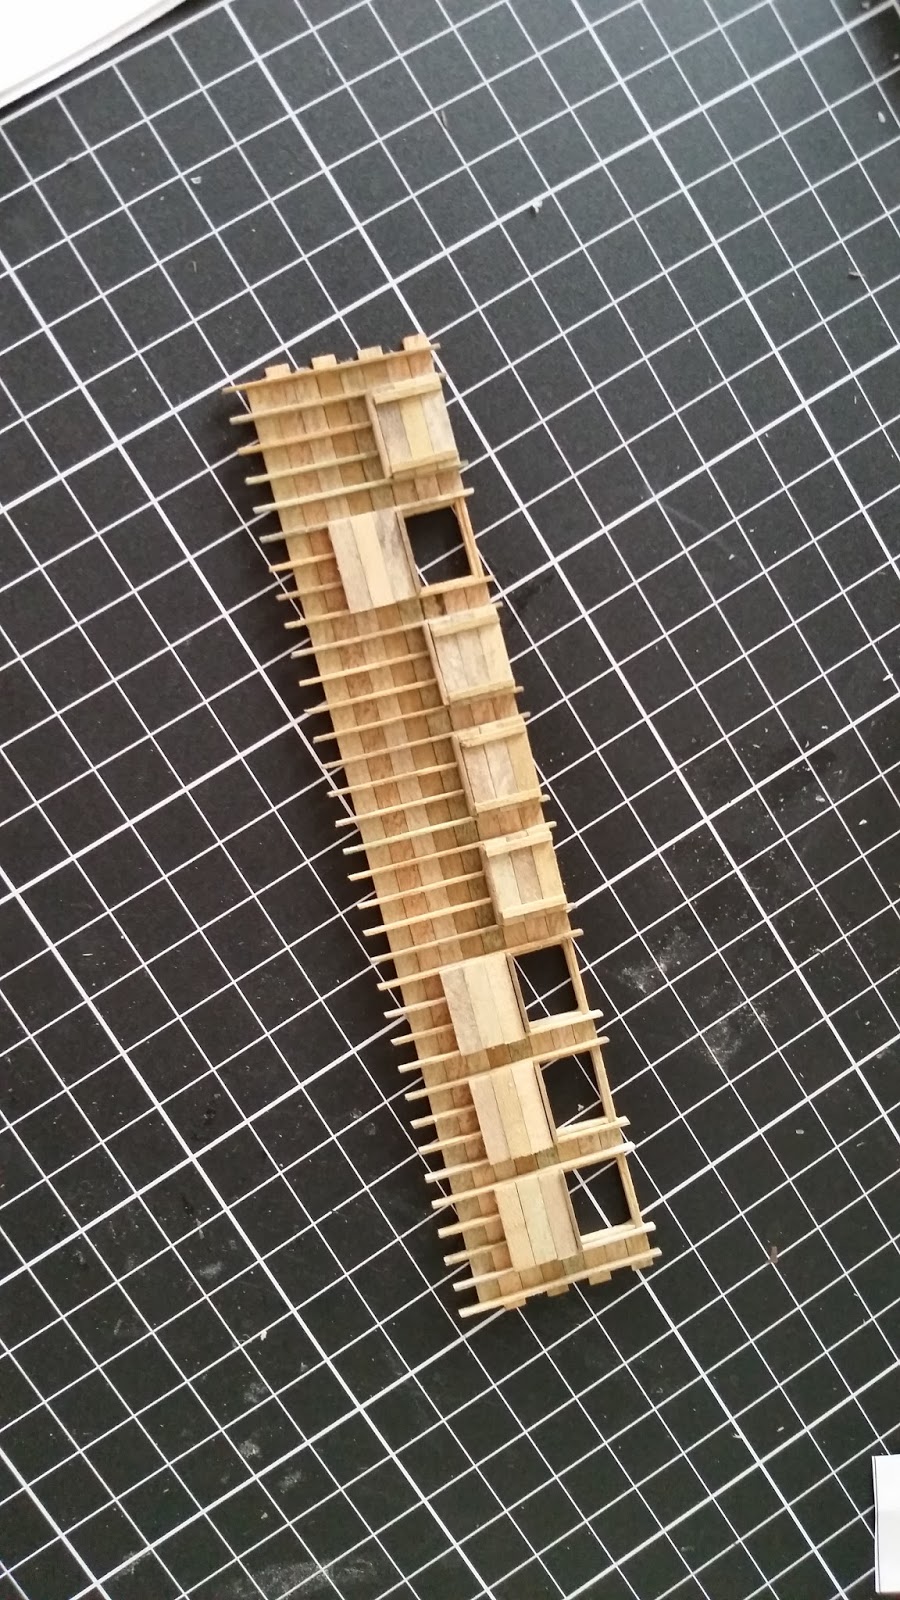
Floor joists installed. Lots of these!


Waiting for the roof

Then I'll add the sub base for implanting into the layout

     Another couple of sessions should see this completed and ready for Peter to install it into the scenery at Warren on the LosPinos & Toltec RR

Until my next post happy modeling.
Rod.

11/01/2017

Working on the Railroad Pt 2

It's taking shape

     Big John and I went to little Johns on Tuesday to see if we could get some more work done on his RR. Plan was for big John to start and attach the wiring, me to continue on the scenery whilst the owner little John kept working on laying track for the new staging tracks at Newton. This is to the left of Flynn.
      A good amount of the wiring when the layout was dismantled was pre- planned where the cuts and plugs would go so this side should be relatively easy. Some of the turnout wires for Flynn were just taken out of the terminal blocks so these will need to be sorted out however John was able to get a lot done in the area between Flynn and Perry. The SE8C needs to be installed in this area before much more can be done. Whilst discussing this, the idea was put forward that all of the Circuit breakers, Digitrax stuff, BDLs along with the Tortoise motors power supply and general power packs could be installed so testing of each re-instated section of wiring could be tested.

     Here is John in the corner doing what he does best. Wiring of course.


     Just to digress a bit I went to Johns the day before so we could make sure that the new 15 stall roundhouse would fit it's new space. John had done a great job of ensuring that the pits fitted into the newly cut holes and allowed the roundhouse to be positioned very accurately in relation to to the new turntable. I needed to remove about 2 millimeters from one of the rear walls, cleaned up the mounting tabs on the base and then we gently installed both halves. Thankfully it fit like a glove so we decided to leave it off the layout so the tracks could be laid around it.
    John has already installed the mainline to the rear joining the staging to the old Flynn mainline however there are many more to add.

We will add the remainder of the roofs once John has laid all the tracks. That T/T is going to get some weathering also.


    I pushed on with the scenery at the old town of Guthrie's intersection with the main line.


The layout extensions and recommissioning is coming along nicely.
That's it for this post. Catch you next time.
Rod.

06/01/2017

Working on the Railroad.

Building more kits and other stuff.

    As the roundhouse got moved over to Johns layout ready to be fitted into position I asked John if he had any further kits he would like put together. "Yep a few grain bins from Rix need doing," so 3 large HO bins along with a Guthrie N Scale set arrived on my work bench (such as it is at the moment as it's on the kitchen table). As I have built several of these kits before for the SFRSD they are not that difficult to assemble. These will most probably finish up in the yet to be built Mopac yard opposite the old town of Augusta.

    This is them assembled but in need of some weathering as yet.


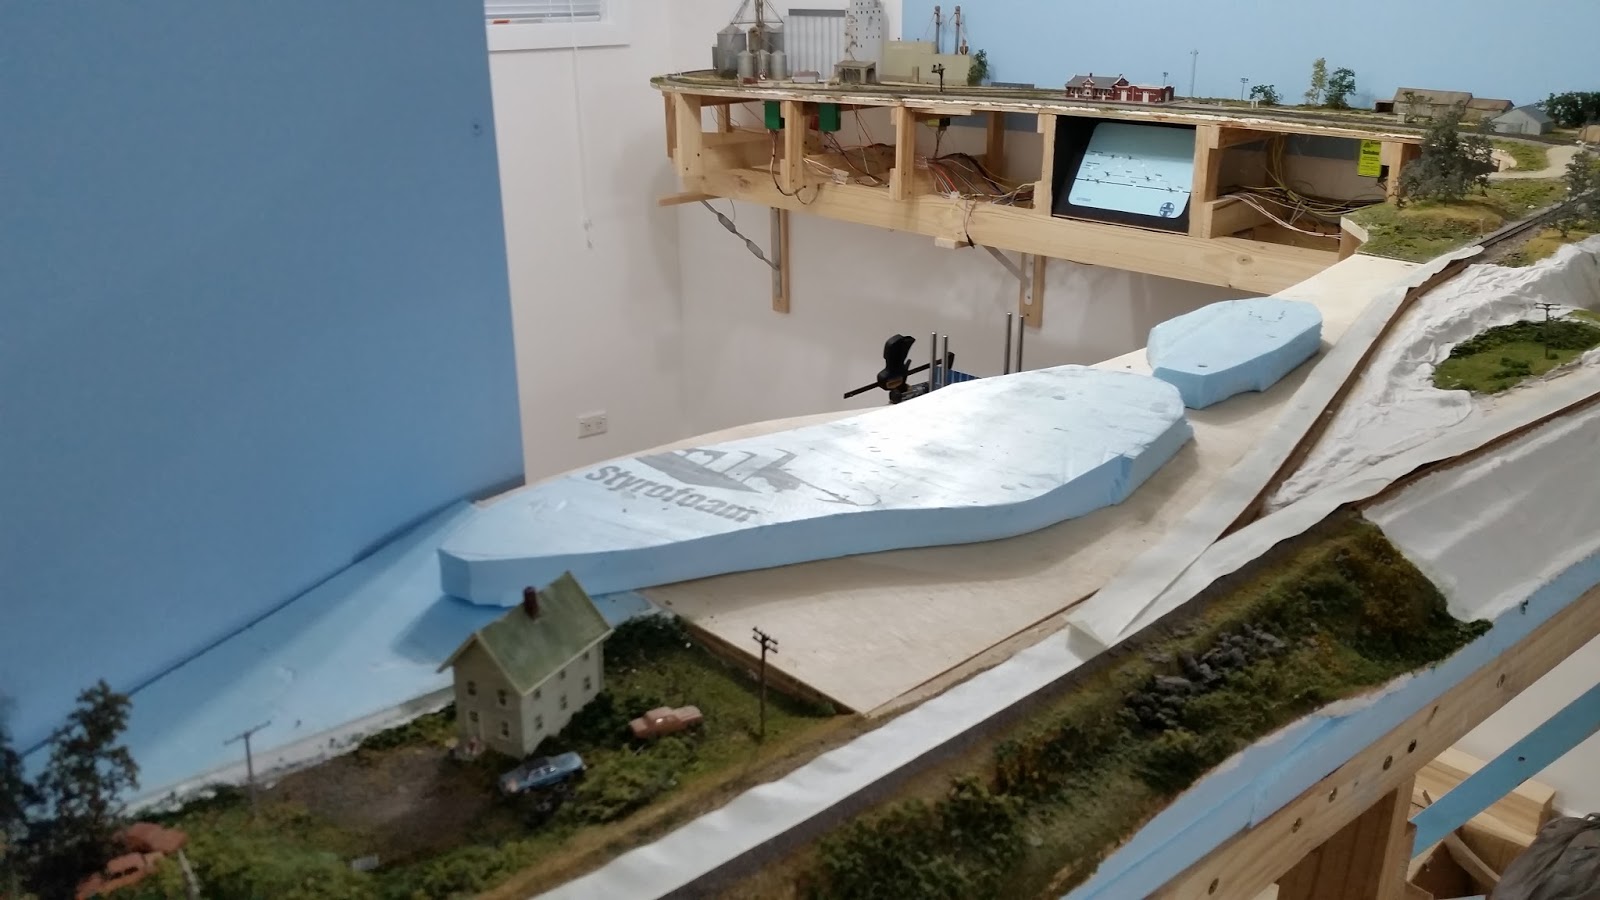
      Now that the old SFRSD is set in place it was time to attack the scenery where the cuts were made to disassemble the layout from my train room. We tried to ensure that the cuts were neat as could be and in positions that could be relatively easy to repair once back in place. John was kind enough to ask if I could assist in this so who was I to say no.
     There is several spots that needed attention. The end of the Winfield / Red Rock peninsular, The centre of the Ponca / Hackney peninsular on both sides of course, the join where Perry now meets Flynn again and the melding of Guthrie to the Udall section between the grain elevators of Udall and the bridge over the Wichita River. Apart from this there is a few areas that received some minor damage when the modules were taken through the upstairs window and considering the length of these modules that is to be expected.
    Armed with some blue foam, a nice sharp knife and a tube of no more gaps I set to to see how we would go.

    Here is a few snaps of the areas going through repair. By the way John had already completed the repairs to the track-work so scenery was all that remains in these areas.


This is at Perry. 13 inches was added here to make the walkway between Flynn and Hackney that much wider.


This is the Perry Red Rock corner. This section was removed so we could cut it from the wall. It fit back quite well. All that is left is some paint and ground cover along with some fresh water ( you know the sort).

The inside repair between Red Rock and Ponca. Hope the road repair crew can do a good job.
The outside repair opposite the one above. This is between Hackney and Winfield.
The corner at the far end of Winfield as you approach Udall.
About 6 inches was added here so the Udall peninsular could rest along the wall. This gave a huge improvement to the track geometry between this and the town of Guthrie in the next room and gained more room between Winfield and Udall.

Work in progress at the intersection of Guthrie to the mainline of Udall.

 Filling in the gap at the duck-under that leads into the old town of Guthrie.
    Whilst I was cracking on with this John was busily cutting the slots in the sub road bed for the installation of the 15 stall roundhouse. Not an easy task with the layout 55 inches off the ground.


Over the Christmas break John has been adding sub-road bed to the sections between Augusta and Augusta East and Augusta East and his new open staging Newton / Flynn. (one day I will add all the new town names as soon as I can remember them all) sorry John.

Here's a few pics.


     And finally this is where the section that was single track attached to the wall behind Guthrie and beside Hackney in the old layout. This will now most likely be the mainline for the Santa Fe between Augusta and Udall. It is planned to have a new yard built for MOPAC in the front and just a tad lower. This will then be an interchange between the SF at Augusta and run through (with trackage rights by joining the SF main at Udall) and Udall on its way to Guthrie. It could even have its own dispatcher if the cards fall correctly and wouldn't that be fun LOL.


So this brings everything happening right up to date. Stay up to date by following the progress.
Regards to all.
Rod.

19/12/2016

Lots more done


Assembly well underway

    I spent a few solid days getting the very BIG roundhouse almost completely assembled so I could move it off the kitchen table and over to Johns for final assembly.
    Fitting the front doors and door frames was not as daunting as first thought just needed to ensure that none of the liquid solvent got into the door pivot pins in the floor and top of the door frame.
    I also sprayed the outside of all roof sections with flat black and underneath surface primer grey and then a dusting of Racing White like the walls.
    Once these had dried I attached the chimneys and smoke deflectors outside and inside the rear roof sections. I then glued all of the center sections of the roof in place on both sections of the model to help stiffen it up for ease of moving it to Johns house.
    And this is how both sections look just before they were taken to Johns on Saturday afternoon.        Final assembly by joining the two halves will be done once the pit holes are machined in the layout sub-roadbed so the roundhouse will sit flat into it.

A couple of pics


    Next is the full assembly once the above mentioned ground work is completed. A big build in many ways so hopefully it looks okay once completed.

Until the next project.
Regards
Rod.

11/12/2016

More on this BIG roundhouse

More painting and preparation done.

    I have steadily been painting the window frames for this roundhouse and decided to paint the insides also. I have been using Modelflex Tuscan brown which looks  a good match for the trim on the AT&SF photos that we have been using for reference. I have deliberately left the centre window frames in grey ( after spraying them with a dull flat grey from a Tamiya Rattle can) as this is how they look in the pics also.
    I think they all look okay.
    The next step was to install the kit supplied window glass. I used the kit stuff on all of the rear wall sections however raided my wife's scrap-booking supplies and found to my surprise a self adhesive very thin sheet of clear plastic. Wow how cool is this stuff for windows. I carefully cut out the size for all of the side wall windows and just placed it in position and with a small amount of pressure voila it stuck firm. Very happy as you cannot see and edges to the glass like the kit supplied would look like. It hard to see it in my ordinary pics below but it does look good.
    Some more weathering to the outside of the two side walls plus some clear green and old white paint applied to make it look like some small panes of glass have been broken and replaced with a substitute.
   Next step is to start to add the side and rear walls and trusses so that should be fun.

Some pics below for reference.


Lots of sub assemblies sitting ready.
I would like to get this completed before Christmas so we'll see.
Rod