19/10/2013

Ninteen years and going strong


The 19th Anniversary of the SFRSD
     Wow, has time certainly flown by since I dismantled my last layout and commenced the SFRSD. in the smaller shed than it is in now.
     To celebrate the occasion I decided to have the crew and a few other friends over for an operating session, dinner (well pizza and chocolate coated ice creams can be dinner) then let the guys run their own road loco's and rolling stock on a Saturday just for something a bit different. One could not make the day, and two guys called in sick it so we hope they are on the mend.
     We kicked of at about 3.00pm with a cuppa and a lot of chit chat which is always good and then got down to some serious operations. We ran the normal timetable that I use on a Friday night session and that ended at about 6.15pm short of a couple of trains running otherwise we would not finish till midnight if we didn't stop for beans somewhere.
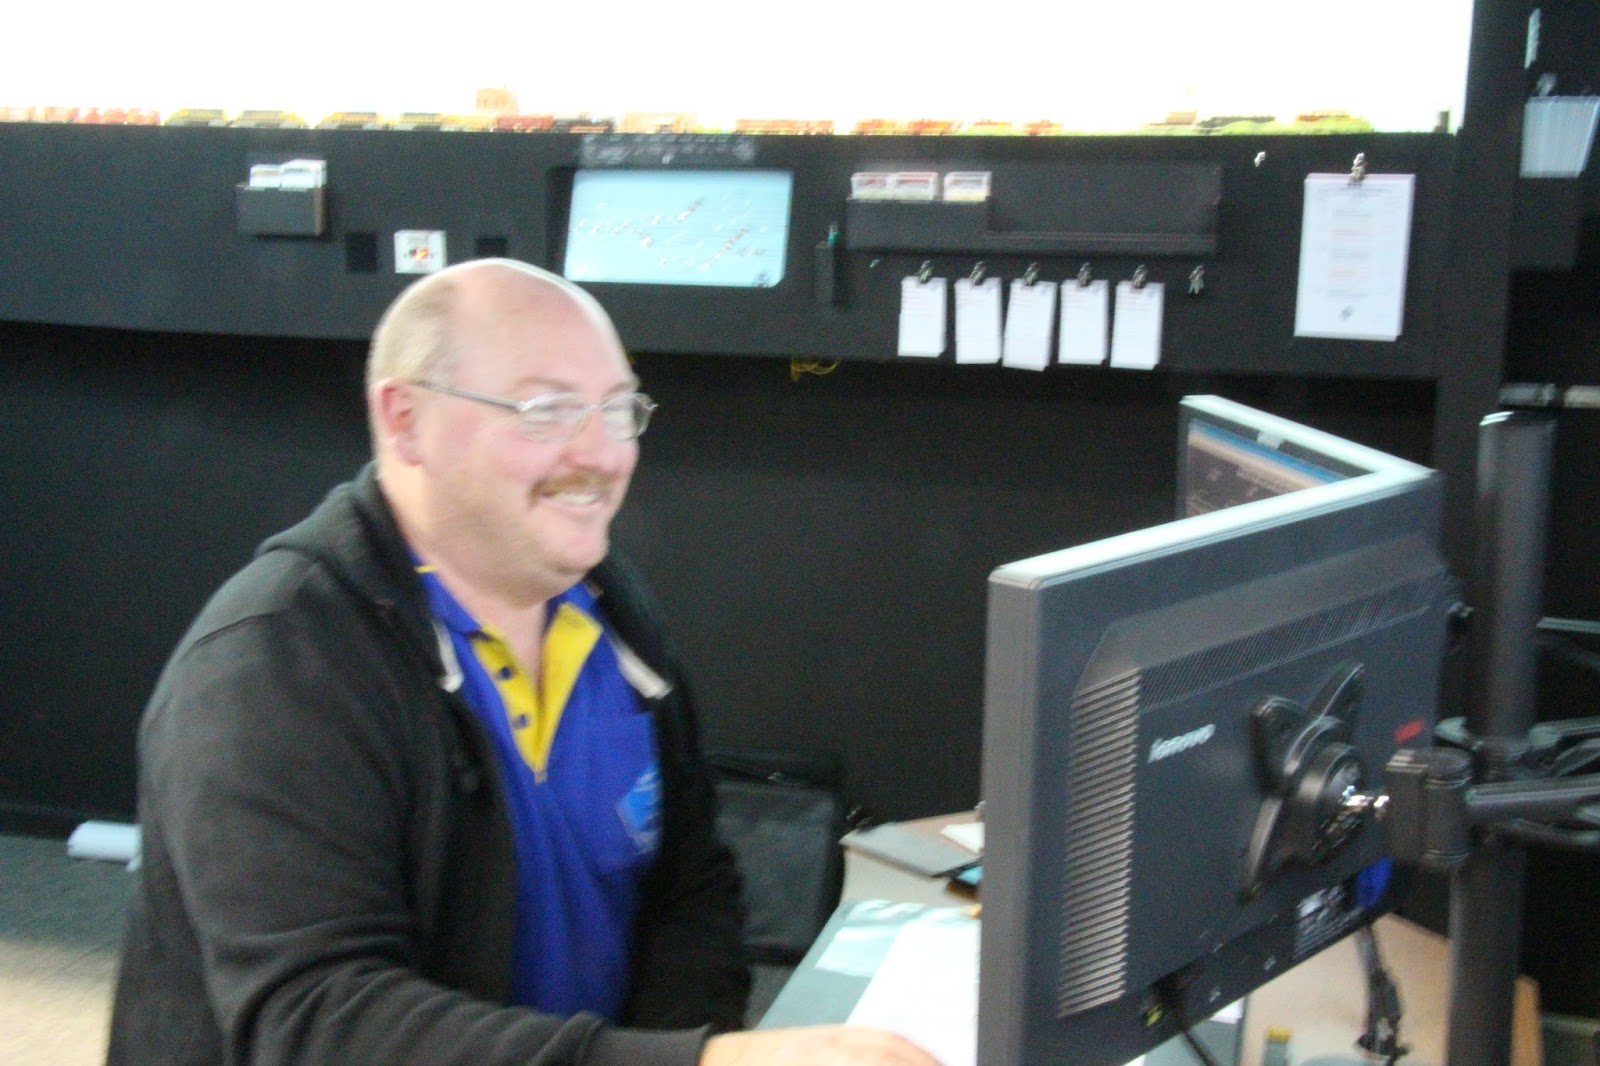
     I kicked off being the dispatcher for the first few trains then handed the panel over to Darren. He's a signalling guru on the big stuff here in Victoria so he was in his element.
     John C operated Augusta with Vic, Noel and Rob took charge of Flynn and the rest of the guys either took a train or waited until their train was called.
     I became chief cook and bottle washer, well wash the mugs, top up the urn, bring out more food and along with my good wife kept up the supply of goodies.
     I did get a chance to take a few images of the sessions. Unfortunately with my layout lighting as it is it is difficult to get a really sharp image without room lighting so here goes with what I got anyway.

Here is Dennis waiting for his train on the left with John and Vic working Augusta.

Noel on the left with Rob in the foreground working Flynn Yard

Darren trying not to smile. What a happy little dispatcher.
John F operating the Aug / Hac / Aug sweeper at Hackney
Charlie concentrating at Ponca City with the Flynn / Ponca / Flynn sweeper
Noels Heavily modified West Coast Mine locos passing through Hackney. The cabs are brass etched by Vic installed by Noel and I have been fortunate enough to help by painting these neat Locos. The cabs follow the style of the Pilbra cabs of Western Australia
The Amtrak F40PH sitting at the Augusta station belongs to Dennis
Two of Noels Hamersley Iron Alco's heading towards Udall with a string of iron ore cars.

Ron on the left with Bill working at Guthrie
Two of the new FVM GP60M & B units first run on the SFRSD
John Collivers new UP steam loco passing through Udall.

Rob Mc brought along one of his beautifully painted and decaled F.N.M locos from his Pacifico RR
John Colliver also had his D.R.G. pass. Here it holds at the R H signal at Red Rock.
Here we see one of Dennis Hares SP Geeps at Red Rock
And Darren French brought along his etched brass Victorian Y Class loco seen here at Guthrie. Yes there is a decoder and operating lights.
     I am fortunate enough to know many fine modelers with great layouts that were happy to bring some of their favorite locos and rolling stock for a run on the SFRSD.  After a few of the crew had headed home after dinner to attend to home duties etc the rest of us stopped at about 10.30pm for another cuppa, supper and a chat to reflect on another great day.
     With plenty of food, lots of tea and coffee and a lot of trains run a good day and night was had by all
Thanks for sharing guys.
Rod.

16/10/2013

The GM plant at Flynn

Renamed plant at Flynn
     I made the plant at Flynn quite a few years back long before the extension of the RR room using 12 mm thick MDF as a box on which to laminate the Evergreen Board and Batten siding. There are three boxes per-say with another for the roof portion that has the stacks fitted. All building have various coatings along their base to have each one slightly different to the next. I wanted it to be the GM plant that the SF served at Flynn however in the days I made the building I could not find a GM logo and as I had an abundance of Atlas LNT 9000 cab chassis to sit out front I just called it a Ford factory. That bugged me for years so mid way through this year I finally found a decent GM sign levered the Ford sign off and replaced it with the new GM logo.
     Needless to say the LNT9000's had to go so they are now scattered around the RR serving their keep hauling SF trailers to some worthy customer.
     This group of buildings measures approximately 42 inches overall and fit in well along the backdrop at Flynn. I put some of the Walther's roof top details on the roof along with other roof details from Greenmax (Japanese Kits).
     I choose not to run any auto racks as to me they being 89 feet long tend to make my layout mainline look shorter than it is so the plant only receives box car loads from Winfield and Ponca.


On two of the building I installed a concrete base wall with board and batten above to simulate colour bond cladding. On another section as seen above I used a portion of brick from Slaters an English product.
The stacks are made by using various diameters of thin wall brass tube
  
I made the roll up doors from Slaters corrugated siding. The down pipes are just a strip of square styrene to cover the joins in the siding.
 This was a very quick and inexpensive building to build and makes a nice difference to having kits that are well recognized.
I have a few more building built in a similar fashion that I will add to my pages.
Thanks
Rod.

15/10/2013

Weathering some Hoppers

Weathering Hoppers
     I have been a fan of weathering my Locomotives and rolling stock for some time however after viewing several new web pages I decided I wanted to try my hand at using oil paints.
    Two new hoppers were purchased at the last train show here in Melbourne as my first attempt at this medium.
    Based on these new weathering to me web sites four primary colours are used to get the overall effect of aging and rusting on roofs and along the sides of cars.
     Vandyke Brown,  Raw Sienna,  Burnt Sienna,  Burnt Umber all oil paint.
    To thin these I used odourless solvent (thinners) this made it acceptable to do most of the work in the study.
     The first step was to give the cars a spray of Dull Coat. This acts like a key for the next phase to have some key (grip).
     I also masked off the car number so my operating crew could read them during an ops session. So a quick very light wash of Vandyke Brown followed by another spray of Dull Coat, another wash another spray and so on. I painted the wheels with Tamiya Red /Brown and gave the couplers a coat of paint to get away from their shinny black finish.
     This is the process as I went through the steps.


A spray of Dull Coat with a dash of rust added to the mix.
Wash with Vandyke Brown and some streaking.
Another coat of Dull Coat, trucks couplers and wheels.
     Depending on the available light the cars look lighter in person. So two cars were completed with pleasing results well to me anyway.
I was happy with my results and will definitely weather more of my cars using this method.
So not much else happening on the SFRSD the past month so thanks again for stopping by.
Rod.
   

03/09/2013

Last Friday's operating sesion.

Another ops session on the SFRSD
    
     I have been holding operating sessions on the last Friday of almost every month of the year on the Santa Fe Railway Southern Division with exceptions for Christmas. These have been going on for many years however for some reason I have very rarely documented any of them. Some of my operators have taken shots during these nights with their own cameras but I do not seem to have thought of doing it for some reason or another. Maybe it is because in the past before moving to DCC and my car card system it used to take up to 4 hours to re stage the RR ready for the nights session.
     This past session held on the 30th of August I decided that the night needed to be recorded. A few of our friends were not well on the night so we only had eight of us to enjoy the evening instead of the usual 11 and sometimes 12.
     In moments of mirth if an incident like a derailment has occurred images would be taken and I would set about doing a newspaper article the next day to ensue that the culprit or culprits were given the amount of publicity as warranted.
     Since having my CTC panels installed and operating since January this year I have sat in the dispatchers chair, however I never get to run one of my own trains. For a change I asked Greg to sit in the hot seat ( he grabbed it for a while last time anyway) so he jumped at the chance. This gave me a chance to take some images run a train and just take a different approach to the night.
  
      So here are a few images taken during the evening.


This is a showcase miniatures kit. The cantilever is in process of being removed (it was never there in the first place)

I have just replaced all of the original turnout motors with these ones from J L innovative and added relay boxes where they should be
New to the roster is the N Scale Enthusiasts special run SF Track Geometry car
John C working the Augusta Yard

Ron Looking for cars at Winfield for the cement train

A very happy dispatcher. Greg is enjoying the night in the hot seat. Rumors are that he played solitaire between trains, Hmm
Dennis running through Hackney on his way to Winfield

Noel with his FLN / PON / FLN train heading past Perry. Noel got to run 5 trains on the night, well done Noel.
Brendan our young software master of all things signalling is in charge of Flynn Yard. You can see the fast clock we use in the background. Greg obtained permission to alter the face so it shows Santa Fe Southern Division. Thanks Greg.

And Charlie pondering his moves at Hackney with a grain sweeper.
    So a good night was had by all. The layout is running pretty well except for the odd ME turnout that still gives me an issue however we are getting on top of that pretty well. The new medium flange M/T wheels I added to all of my cars has made a huge difference to the performance of RR.

Enjoy your day.
Rod.

26/08/2013

Moving into signalling and detection

I never thought I could get this far.
     Many years ago I had the privilege of operating on a large BN N Scale layout housed in a basement in Kansas. To be able to run your train and have a dispatcher controlling the movement of all of the trains on the main line was a lot of fun and frankly I never thought I would ever get that far.
     Moving to DCC back in 2009 and having my tortoise motors controlling the aspects on the signals made by my good friend Vic on my RR was as far as I dared to dream.
     The 13th National N Scale Convention (of which I was on the committee) was due to be held in April of 2013 and whilst enjoying a morning cup of tea with my good wife we were talking about what was next on our hobby agenda's. She is into scrap booking and card making so she had a great list of wants. I mentioned that I was still thinking about moving to a full signalling system as we were having issues of head on's during operating sessions between towns. To my complete surprise she said how much should it cost and if not too much well lets see how we go.
     Man was that a great go ahead. Straight away a call to one of our good friends Brendan to see if he could work up a budget to get signalling and dispatching up and running before the convention by this time only seven months away. That budget came back almost immediately from Brendan
and with a bit of thought we decided that it should go ahead.
    Brendan set too and drew up a schedule of what was really needed and what I should order first. Orders for 2 BDL168's ( later another was added) and 4 SE8C boards were placed along with 4 sets of Digitrax ribbon cable and clips.
     Another email to the two electrical guys on the list John F and John C to see if they were up to a big task and the responses in the affirmative were back within the hour.
     Brendan supplied all of the drawings that he had worked up from my track plan once we marked up where all of the sticks were and on what OGCB's they were to tell us what block wire needed to go where.
     So on October 1st 2013 work commenced. I removed all of the fascias to make it easier to get to the track feeders, signals and tortoise motors. Vic set to to make some additional signals for areas where there were none, rolls of heavy gauge wire were purchased along with a large amount of terminal strips. Once the signal parts arrived John C took the BDL168's that I had mounted to boards home to wire the terminal strips to them so we could remove them if needed.

Supplies ready to be used.

Wiring commences
Testing the BDL's
Wiring into the BDL's terminal strips
  Here are the BDL168's. before wiring into the RR.

The BDL168's are mounted with terminal strips next to the Digitrax command station

First two mounted and connected to the blocks
     To ensue that we were doing the installation correctly we tested every block as we went 4 blocks at a time. This was huge task but once started it went quite well. John F would solder the cable to the appropriate track feeder as would run the cable to the BDL168's label it and then John C would attach it to the BDL's.
    The next task was to test the whole system and once a small issue was sorted out it all worked.
     During rest days (we only worked two days a week) I went about purchasing the monitors, monitor stands a dispatchers desk albeit broken for a very cheep price and a chair oh and lots more cable.
     The next task was to make up the small Printed circuit boards so we could attach the signal wires from Vics signals including resistors.

two of my very happy helpers John C and John F. thanks lads.
Just a few of the many.PCB required
They work!
     Well that's part one and two, so whats next.
    
     Wiring the SE8C's was next on the agenda and as these were going to be mounted under each peninsular they had to be mounted on a backboard then wired to terminal strips like the BDL's.
     As there were 4 of these required John C took these home once I had mounted them again for pre wiring. This made progress go quickly once mounted under the layout as I was able to run the ribbon cable as per Brendan's drawings once the two Johns had determined which colour went where.

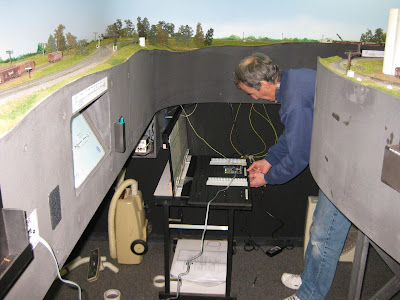
     The dispatchers desk was repaired, monitors mounted and as we made progress to the layout, Brendan 50 kilometers away was sending emails with the software required to get the ABS signalling system up on the screens. I would download it to a USB stick download it to my signalling computer and then as updates came in just repeated the process. Brendan did a fantastic job and still is today as we move towards a full CTC system.

Brendan has been able to get my track plan spread over the two screens and massage it to my liking
We needed to add the DS54 to get more detection for the town of Augusta.
     All of the towns mainline tortoise motor toggle switches were changed to momentum center off to allow the engineers to throw the turnouts once given approval by the dispatcher. This in itself was a big enough job.
    We are now into January 2013 just three and a half months after starting this project and the very first full operating session with ABS took place. A huge thank you to all of my friends who without their full support this task could not have even started.

Noel is missing as he took this image That's me sitting
     If you would like to read about this project it was published in the July/August 2013 edition of N Scale Railroading.
Thanks for taking an interest in the Santa Fe Railway Southern Division.
Rod.

12/08/2013

A new building for Guthrie

A bare spot at Guthrie is filled
     For many months I had been thinking about what building would fit the bare spot still lingering in Guthrie.
     So I set about looking through the hundreds of images I took on a trip back in 1997 when myself and three good mates followed the Santa Fe mainline from Chicago to Flynn.
     I came across several candidates but settled on building this one that is made up of the three buildings at the front all pushed together as I guess the company expanded. If I recall I think this was at Pauls Valley.


This is shed one of three.

Shed two, the main building

How they will sit on the RR. shed three is really an open shed and is shown in the next lot of images on the left of these two.

And finished, sitting in it's new home.


     This was a fun set of buildings to scratch build. They are close too but not exactly the same as the images I took however it seems to fit the scene.    
     So that completes all the buildings that were needed for the town of Guthrie all that is needed now is a bit more detailing and this town is done.
Thanks for coming by.
Rod.

01/08/2013

A Bit more to Hackney

    Hackney
     There is another building in Hackney that I failed to mention and that is the Mc Farlane Redi mix plant. I wanted somewhere for my operators to send cement hoppers to from the Winfield cement plant thus Mc Farlane Redi mix was born.
     The main vessels are made from 5/8 inch electrical conduit with the tapered discharge nozzles made by Vic by turning down some aluminium that was a snug fit in one end. Some styrene glued and trimmed finished off the top with some brass handrails and an odd bit of plumbing added. The building behind was just fashioned out of styrene with a conveyor some walkways and steps added. It fit the spot very well and receives a fair amount of traffic each operating session.


The two cement agitators are GHQ kits with a GHQ loader at the rear
     The building in the foreground is just over half of a Micro Engineering building kit as it was cut to fit this narrow space.
   
The small building on the left is scratch built from a building seen on a trip to Ransom

This scratch built grain elevator is to the right of the other Hackney buildings
     There is nothing else at Hackney however it can be a busy place on some occasions.

That's about it for today thanks again for stopping by.
Rod.