Graham the owner of the 4 Alco's that I painted way back in May this year has been a very busy man. Lots to do let-alone do much modeling so I offered to do the decalling on the 4 of them.
So after we finished up one of our regular Friday get togethers I left Grahams place with several small plastic boxes containing 4 chassis, 4 sets of Alco body parts and 4 sets of Microscale decals in my hand.
Graham had purchased 4 sets of Microscale 60-4081 FNM Locomotives National Railways of Mexico 1991+ decals and having used MS decals before I knew that they would be good to apply.
So job one was to try and find some decent coloured images of a FNM Alco 628. That was not that easy as they are far and few between. Having said that I did find one that was sort of ok to use at least as a basis of what was needed.
Man what a job, the decal stripes that separate the two blues are just so fine and to top it off they meet at the back and even go up and across the tip of the nose of the loco. Fortunately Micro Scale provides a good number of stripes on the decal sheet just in case. Carefully cutting between the stripes was a necessity so a new #11 blade and a nice straight metal rule was used to get that done. I use an old glass plate from the kitchen (note to self go get a nice piece of flat glass) on which to cut out all of my decals. This gives a nice crisp edge.
I started on the left hand side with the first stripe letting it dry on the body and then giving it a coat of Solvaset. I have owned this bottle for about 20 years and thankfully it still has some life in it, not much left but still going strong.
I rushed a bit adding the Solvaset before the decal had completely dried so they did move a bit which did cause some bad words. Still over the past 3 days working on an off waiting for each application to dry the first loco is done. The weather has helped as it is 30C (90 F) outside so a nice temp inside in which to work but also get the decals to dry quickly.
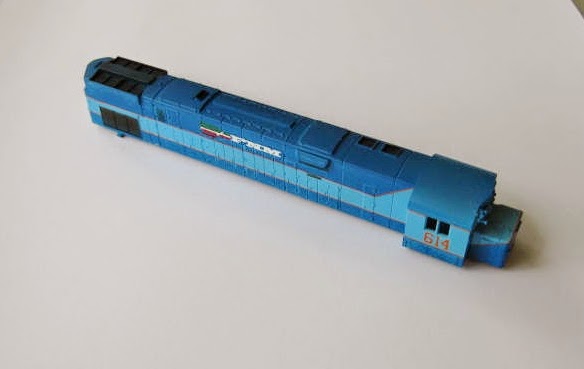
Here are just a few shots of work in progress and completed prior to weathering.

 |
| The locos will get a wash before the coat of dullcoat is applied |
 |
| The 2 images above show the completed decalling after a wash and following a spray of Dullcoat |
I think I might have a break from decalling for a while and tackle the weathering on Alco # 614 next. So we will see what it looks like on the next post if all goes well.
Thanks for coming by.
Rod.
No comments:
Post a Comment